How to press your fabric and avoid neck pain! Less heating pad time equals more sewing time!
- Sep 28, 2021
- 5 min read
Updated: Sep 30, 2021
I’ve said it a thousand times, Quilting can be a real pain in the neck!
Guess what, so can pressing.

It doesn’t take long to notice if our ironing board is set too low. We will eventually be leaning in, bending over and subsequently our back, neck and shoulders pay the price. Today I want to explore with you the ergonomics of pressing your fabric to avoid neck pain. Less time with your heating pad, means more time sewing!
What causes neck pain as you press your fabrics?
Having your ironing board too low tends to have more obvious visual cues for neck and back pain, as there are so many body parts affected.
What happens when our ironing board is set too high? Our wrist tends to bend up and over the iron, which disrupts circulation and blood flow, leading to repetitive strain injuries and muscle pain. Next your shoulder will involuntarily hitch up, often so slightly that it is not even visible to the naked eye. When the shoulders come up, we feel tension and pain in the neck, shoulders and back, all of which can lead to headaches. When the shoulders are down, everything above them is happier. When we are happy, healthy, and pain-free we can sew, cut and press for longer.
Ergonomics to the rescue
Ergonomists frequently refer to the 90° angle as the most ergonomic (comfortable and efficient) and therefore pain-free position. However sometimes it’s not exactly 90° it’s just a little bit bigger, like 95°or even 100°. The sweet spot is different for everyone, but 90° is a great place to start.
How do we determine what our perfect pain-free pressing position will be?
First we need to determine what our baseline ‘90°’ ergonomic angle is.
An easy way to do this is to mimic shaking someone’s hand who is the same height as you.

Stand with your weight evenly distributed on both feet, in your indoor shoes, elbow at your side, and extend your hand out to shake, now turn your palm towards the floor. Measure from the elbow and/or from the palm to the floor. This measurement is the basis of pain free pressing, sewing, and cutting. I’m 5’3” in shoes, I’m short waisted and have shorter arms, my baseline is 39”.
To determine your pain free press in position you’re going to deduct the depths of your iron from your baseline. This is the depth of it when it is flat down on your board. The average iron is about 6 inches deep.
For example,
39” baseline - 6” iron depth = 33” high ironing board
This is the perfect ironing board height for me. Here are some tips on adjusting your ironing board to the correct height for you.
Remember to ‘Go Low’- Most ironing boards have a limited number of adjustment intervals. If you find yourself deciding between setting it even 1/2 an inch too high or a full inch too low – go lower. You won’t need to bend over for that inch. The important thing is to keep your shoulders down. For example, my ironing board does not have a 33-inch increment from floor to top, I have it set at about 32 inches which works well for me, as I often add a wool pressing mat. Think of your 90° baseline as a starting point.
What if we add in other equipment pieces into our pressing workspace?
Step Stools - Some quilters like to keep a step stool under their ironing board and find that by placing one foot on top they are better able to keep their hips level. This works well if you are in the habit of sticking one hip out to the side. Be sure that the stool is directly in front of the raised leg. You may need to shift your center of gravity forward slightly. It’s important to remember two things; number one is that the stool/box/wooden block needs to be low or else you will be hiking up your hip to compensate for the raised knee, and secondly remember to move the stool in front of the opposite leg and alternate feet. We don’t want one leg taking all the impact, all of the time.
Anti-fatigue Mats - Speaking of impact if you have hardwood, tile or laminate floors you may find having a small anti-fatigue mat in front of your ironing station helpful. There is a full blog post at healthyquilting.com about how to choose a mat.
Check your Shoes - It’s important to check your indoor shoes, too often they look brand new on the outside, but the overall support and cushioning has worn down. This will affect your posture and can cause pain.
Remember your Workspace Triangle - I advise having your ironing station as far away from your sewing machine as possible. Every time you stand up from your sewing machine to walk to your ironing board, your blood is pumping. Breaking your tasks up into shorter chunks of time really helps with blood flow and prevents overall muscle pain. Different tasks use different muscles, so one group gets a rest while you switch jobs.
Whether you are standing or sitting, have something in front of you to prompt you to look up. Whether it’s your television or a nice big window, your eyes and neck will thank you for it!
Use a Chair - If you do find yourself with a big stack of half square triangles to press, you may want to pull up a chair. Remember that the 90° angle guidelines still apply. Measure from a seated position to be sure. Lowering your ironing board can be tricky as the board may end up resting on top of your thighs.
Think about Stretching - Waiting for your iron to heat up is the perfect time to throw in a spontaneous stretch. If you’ve been sitting for a while, remember to Shake, Rattle and Roll! That’s shake your hands, rattle the floorboards (stomp your feet) and roll your shoulders to warm up. Here’s a video for you.
The double forearm stretch with an overhead reach and side bend gives you a lot of bang for your buck. It helps with RSI (repetitive strain/stress injury), CTS (carpal tunnel syndrome) and lengthens your torso after you've been sitting. You can find more stretches for your wrist, specifically the median nerve running through your
carpal tunnel here

Double forearm stretch
interlace your hands in front of your body at shoulder height
push hands away from your chest
hold for 5 - 30 seconds

Optional
raise interlaced hands overhead and grow tall feeling your spine and abdominal muscle decompress
raise only to where it's comfortable, you may find you go higher as your range of motion improves
reach to one side, feeling a further lengtheng on the opposite side
hold for another 15 - 30 seconds
shake it all out
repeat, leaning to the opposite side
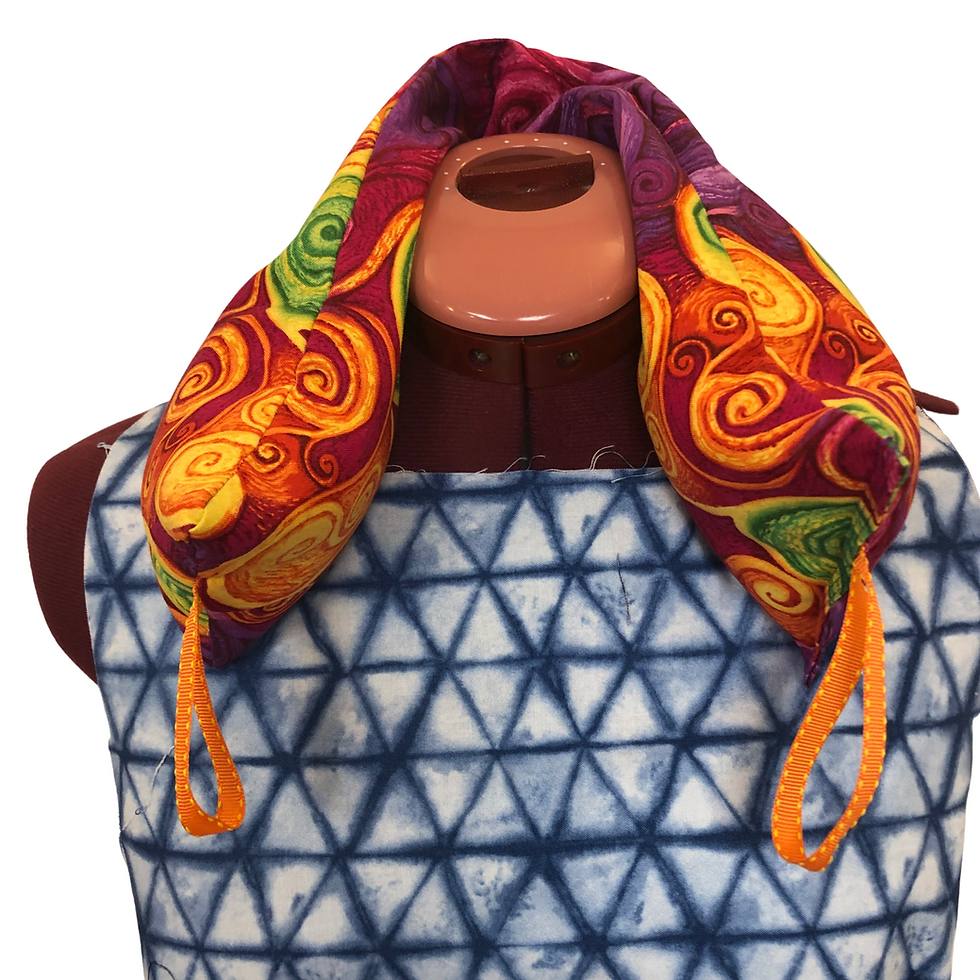
Self-Care
No matter how great our posture is or how often we stretch, sometimes our bodies just need a little healing warmth. This flaxseed heat pack is a quick project. Make one for youirself and one for a friend. Heres the free pattern
Make sure you join our newsletter for monthly tips on keeping your body healthy as you sew, watch for it towards the end of each month.


Just like adjusting your ironing board height prevents strain and pain, proper preparation in academics helps avoid unnecessary stress. Ergonomics teaches us that small adjustments can make a big difference in performance and comfort. In the same way, learning statistics effectively requires the right techniques and support. Many students feel overwhelmed and think, Do my online statistics class for me, to reduce the pressure. Whether in sewing or studying, the right setup leads to better results and a healthier, happier experience.